Soups & Starters

Baking & Bread
Homemade Bread Rolls
A very happy new year from A Cook’s Plot!
I’m going to start 2019 with a real ‘back to basics’ recipe because every time I make bread, I wonder why I don’t do it more often - I’d forgotten how easy it is, and I’ll definitely be making these sesame seed rolls on a regular basis from now on. Ah, now there’s an idea - a weekly bread-baking session can be my new year’s resolution…
The rolls go especially well with the cauliflower soup I posted a recipe for here yesterday: https://a-cooks-plot.blogspot.com/2018/12/cauliflower-soup.html
I’ve used wholemeal flour but the same recipe can be used for white bread flour (or use a mix of half and half) - just be sure to use ‘strong’ flour as it contains more gluten than regular flour, which means the dough will hold its shape better when it’s ‘proved’ and will give you a proper bread texture when it’s cooked.
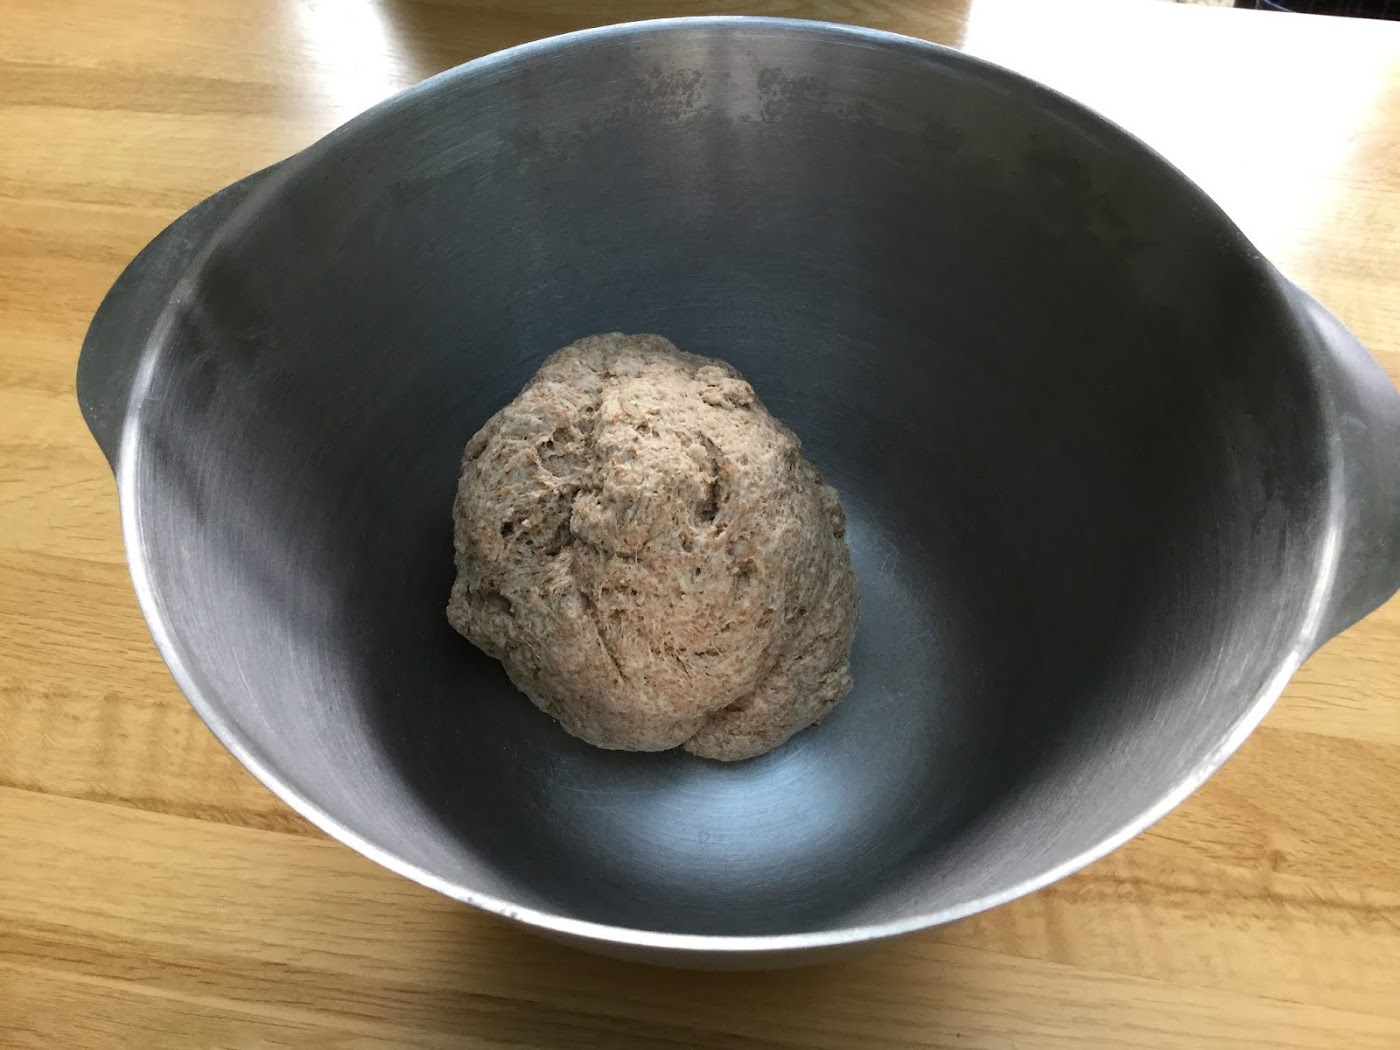
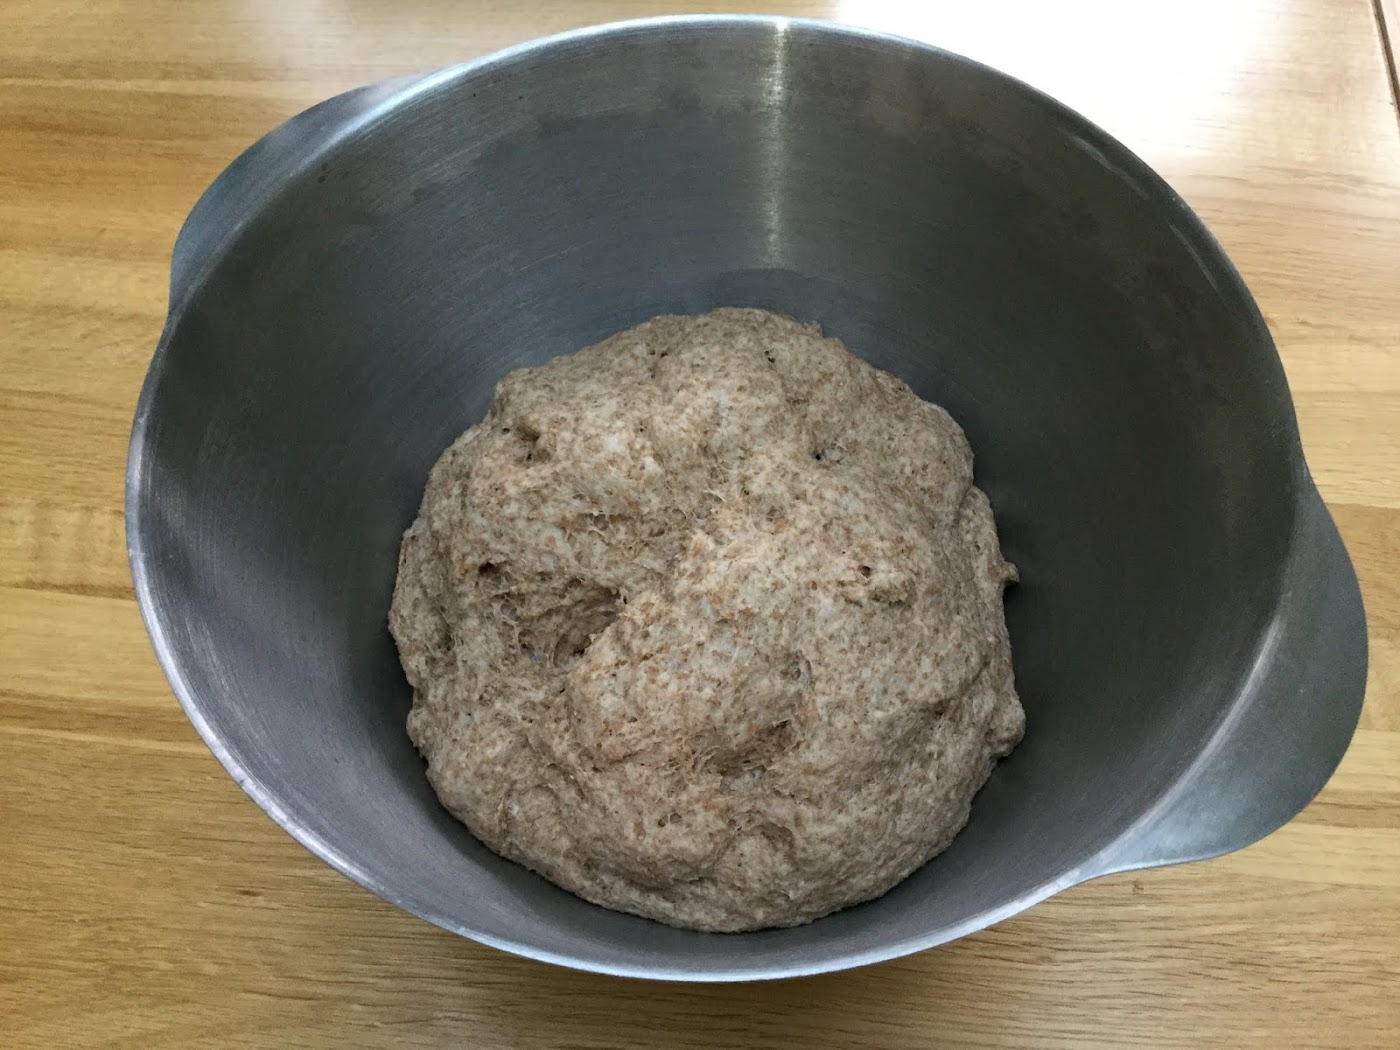
Wholemeal dough before and after after an hour’s rise:
Before

After

Ingredients
- 450g strong flour
- 7.5ml salt
- 1 sachet quick-acting dried yeast
- 15g butter
- 275ml warm water
- sesame seeds, for sprinkling
- milk, for brushing
Method
Mix the flour, salt and yeast together then rub in the butter with your fingertips. Slowly pour in the water and bring the dough together with a table knife. Then either knead the dough by hand for 10 mins on a floured surface - or (my personal preference) put it in the food processor with the dough hook attachment for 5 mins. Cover the bowl with cling film and leave in a warm place to rise for 1 hour until it's doubled in size (if you're using white flour) or a bit less than doubled (if using wholemeal flour) - see the images above.
Tip out onto a floured surface and cut into 8 (for medium-sized lunch rolls) or 16 (for dinner-party size rolls), then roll in your hands until smooth on top.
Put on a baking tray and cover with cling film, then put back in a warm place again to 'prove' (the term used for this second stage of resting). Meanwhile, dry-fry the sesame seeds in a small pan until lightly browned - watch that they don't burn or they will taste bitter.
Brush the rolls with milk, sprinkle with the seeds, then bake in a preheated oven (190C fan) for 15 mins for the larger rolls or 12 mins for smaller ones, until the base of one sounds hollow when you tap it and they are just browning on top. Cool on a wire rack.
A Cook's Plot Tip
The rolls freeze really well, so you don't need to use them all at once. From one batch of dough, I made 4 medium-sized rolls to eat this week and then 8 smaller ones to freeze until next time people come for dinner.